Showing posts with label rebar. Show all posts

Wednesday, July 12, 2023

Making a concrete ping pong table

I recently completed making a concrete ping pong table. It came out pretty well, and I look forward to playing some ping pong!

Here are the basic steps I took to make and assemble the ping pong table.

First, I made wooden molds. There was a mold made for the table surface, a mold made for the central supporting arches, and four molds for legs which spring from the arches to the corners of the tabletop. Here are the molds, shown upside down.


Here is the arch section being made. There are 4 pieces of #3 rebar (3/8 inch diameter) in the arch form.  I used basaltic FRP rebar (fiber reinforced polymer).  All reinforcement was kindly donated by Nick Gencarelle of Smarter Building Systems. Nick is very knowledgeable and helpful.  We just used a bagged concrete mix, specified as having a strength of 4,000 psi after 28 days of curing.


Here are the four legs being made. Each leg also has 4 pieces of #3 FRP rebar.


Next, we set up a form for the base. The same form was used later for the tabletop. We placed #3 FRP rebar inside the form, at 10 inches on-center.  The arch form and leg forms were placed and cast directly in the concrete of the base.


After the base cured for a few days, we set up the mold for the tabletop. The mold was filled with basaltic FRP mesh reinforcement and also #3 FRP rebar, for tensile reinforcement.  The rebar was located so that it aligned with the legs underneath, for strength. The entire mold was greased with Crisco, used as a mold release agent. A sheet of plastic was placed on top of the wooden form, to help the concrete release from the mold.


The mold was then filled with concrete, with particular attention to place some concrete under the rebar, to help provide proper cover.  The concrete was then screeded (spread evenly with a straight piece of wood, moved back & forth as it is drawn across the form).  This surface was then floated, or smoothed out by hand.  The edges of the form were all vibrated. In this case, we did not have a proper concrete vibrator, so we used a "sawzall" reciprocating saw, which worked pretty well.
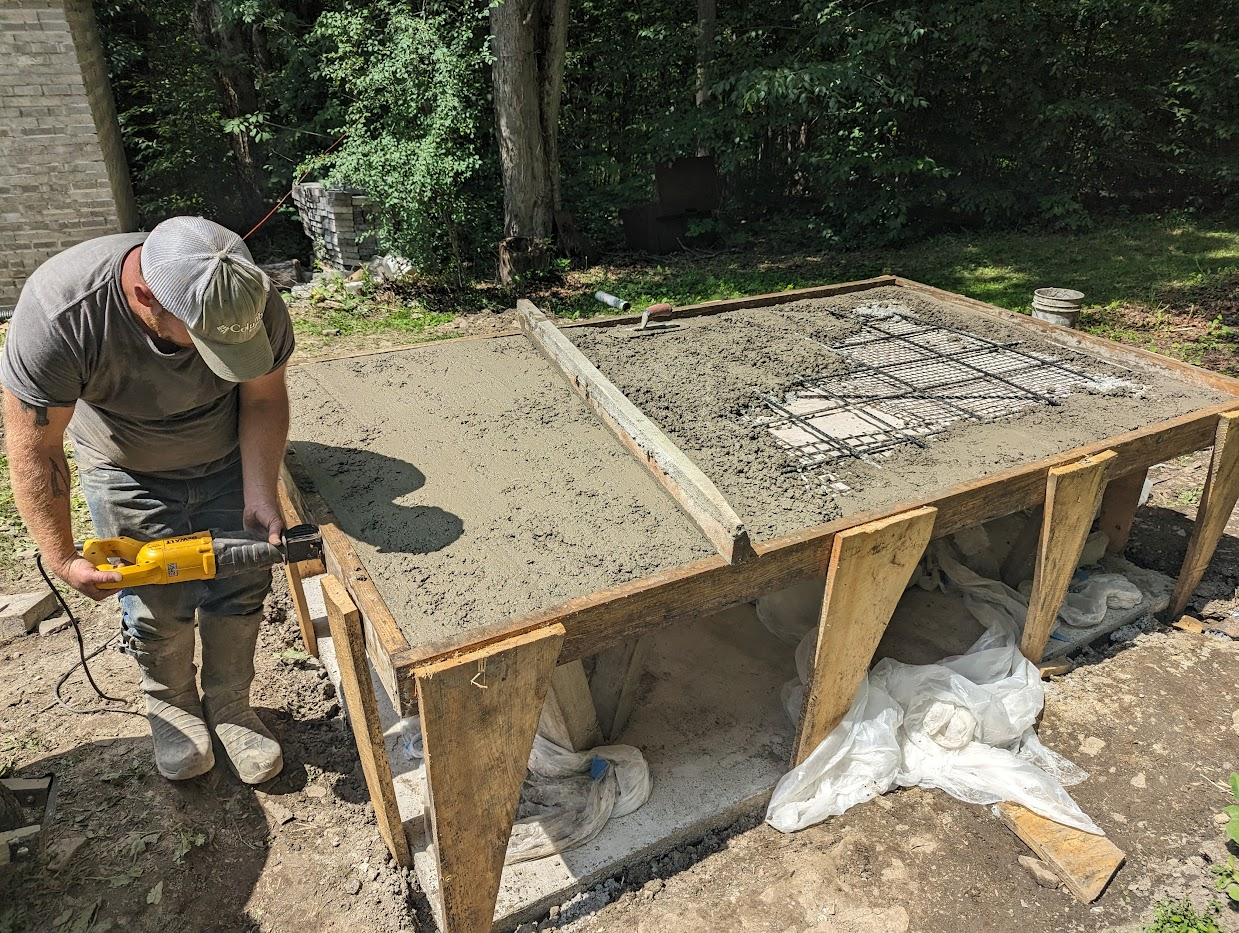


Properly floating the surface is important to get a nice, smooth, flat finish.  It is worth spending some time and doing this properly.


The form was then covered and allowed to cure for a full week. It helps to cover the concrete with plastic, so that water remains in the curing concrete to form hydration products.

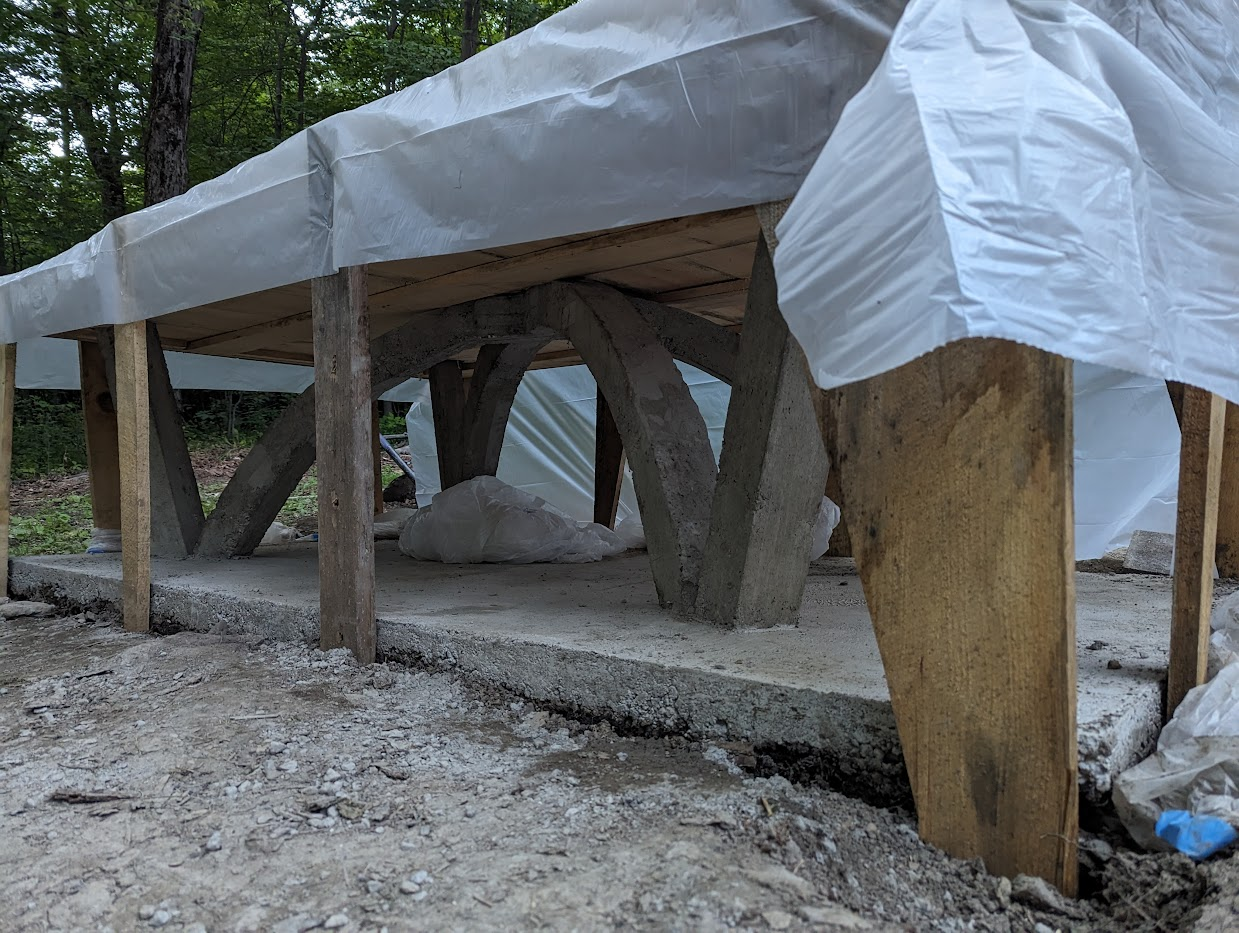

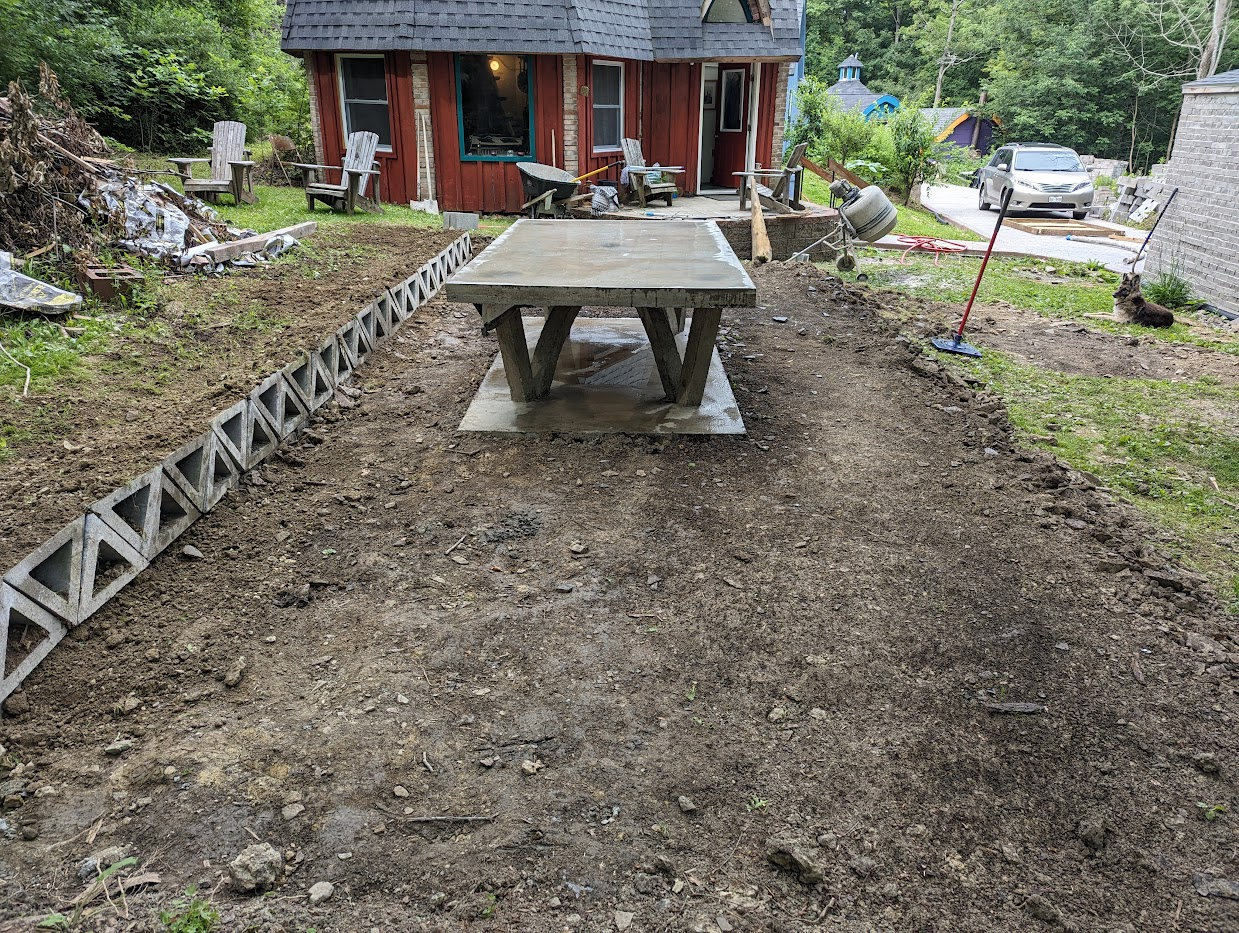
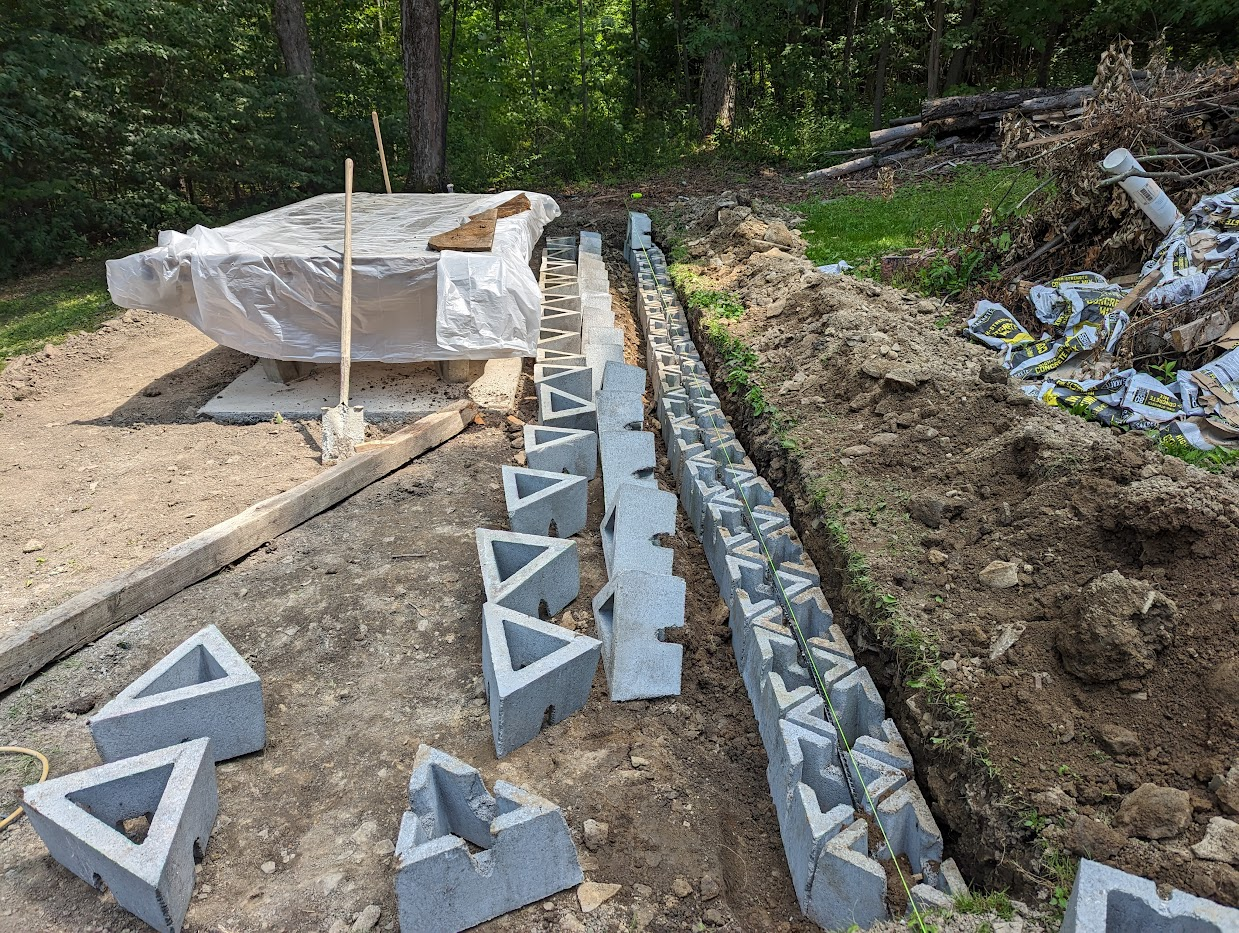
After one full week, the wooden forms were removed. We also did some landscaping, to create a level playing surface on the ground around the table; this involved a retaining wall being placed also.  This work was simply done with a pick, shovel and rake. It took an afternoon. 


Now, it just needs a net! I will also use a sealant to help protect the concrete from the weather, something like Thompson's Water Seal.  This will also make a great picnic table. I expect it should last a long time. We will also plant some grass on the fresh dirt.

This basic concept could be made much larger, to provide an elevated platform to build homes on. We could use my company's masonry arch system to accomplish this, easily and quite affordably.  This would be appropriate for coastal areas which are prone to storm surges and flooding from hurricanes and severe weather. It is stronger than the wooden posts currently used to elevate homes above a storm-surge plain, and will not rust or rot, like wood. It is also more elegant and looks much better than those wooden posts.

This table cost about $150 in concrete.  The rebar is also inexpensive. If anyone wants a concrete ping pong table and would like to borrow my molds, you are welcome to.  Just let me know.

This thing should be fun, I look forward to using it!


Friday, January 21, 2022

Where is the most stress?

In designing and assembling a masonry building, the engineering work can provide helpful insight which is simple and powerful.  

For example, if we consider the masonry building I'm currently completing, it's insightful to ask: where is the highest stress in the building? Where is the highest compressive force, squeezing together?  Where is the highest tensile force, pulling apart?

The engineering for this building was done by Cheng-Ning Jong, PE.  He has some familiarity with my company's masonry system, since he helped compose, file and prosecute all of our patents.  We've worked together for several years and have a good rapport, a comfortable back-and-forth as we discuss, develop and fully articulate ideas.  

Mr. Jong's most critical role, in my opinion, is the detailing of the reinforcement and the size of the concrete footer from which the stem wall is laid.  A 'footer' is the base of the building, typically located in an excavated trench.  Here's a picture of the footer, with the first few block being arranged for the stem wall:


A stem wall is the bottom section of all the vertical walls buried below the ground, sitting on the footer.  Here is a completed stem wall for a room:

This building has arched masonry roofs, domes, half-domes, flying buttresses, arches meeting at intersections; there is a lot of structural configuration, rebar, weight, stress and so on within the building structure. Here are some architectural drawings, showing some of this detail.  Our architect for this building was Robert Ferry, AIA, RDP.


So if we consider this entire structure, where is the most stress?  Where is the highest compression?  Where is the highest tension?

The highest compression occurs at the bottom of the stem wall, where the stem wall meets the footer, on the outside of the building.  Why?  The entire weight of the building sits on this point.  In addition, the vertical wall acts as a giant lever, translating any thrusting force from the masonry roof and increasing this force by the length of the lever, or wall height to this location. This location, at the corner of the stem wall and the footer, wants to act as a hinge on which the lever of the vertical wall acts.  The highest tension occurs at the bottom of the stem wall, where the stem wall meets the footer, on the inside of the building.  The same lever action of the wall wants to pull up from the hinging on the outside, a mere 8 inches away: the wall thickness.


It's useful to note these areas of high stress.  It makes one pay closer attention to the detailing of rebar, rebar placement, connections, centering, etc., when you are consciously aware that the building you're making will have these high stress locations.  Build accordingly, get it right.